
Parts received on 26.03.2024
March 28, 2024Last week I ordered a few I/O cards from Opencockpits. Two days ago, on march 26, the shipment arrived. In this post I’ll describe the basic I/O cards from Opencockpits and how they work together, as I discover that myself 🙂
The order consists of the following items:
- a USB expansion card
- a master card
- an input card
- an output card
- accompanying cables
Some of these cards can be ordered as a DIY kit, but I opted for the fully built and tested ones whenever there was choice. I will use all of these cards to build my own Boeing 747 MCP.
USB expansion card
Opencockpits SKU: 2T3
The USB expansion card connects to the PC via USB. It will receive an ID that needs to be referenced in the sioc.ini configuration file. Variables will refer to devices in SIOC scripts and the correlation between USB ID and device ID in sioc.ini will save you from the hassle to change the ID in all your scripts.
What this means is that if you plug the card into another USB port, the ID will change and you only need to change the ID in sioc.ini to correlate the new USB ID and device ID.
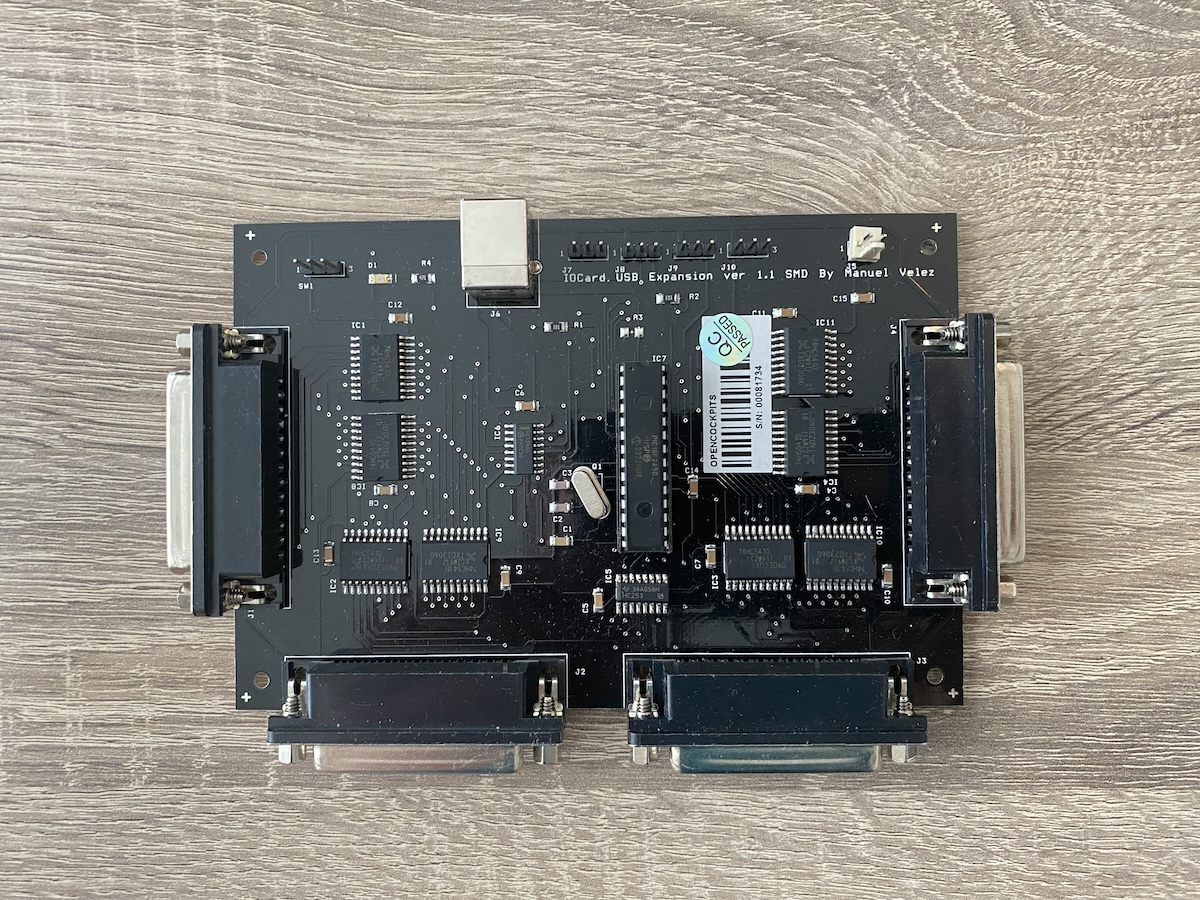
The card has 4 mounting holes, so it can conveniently be mounted in a box or on a panel. Up to 4 master cards can be connected to a single USB expansion card, which allows for easy scaling in a build. The cards are not stackable though, so care must be taken in planning for the right amount of space in the build.
The card can be ordered in three different configurations:
- fully built and tested
- as a kit, to be assembled
- PCB only
Master card
Opencockpits SKU: 2T1
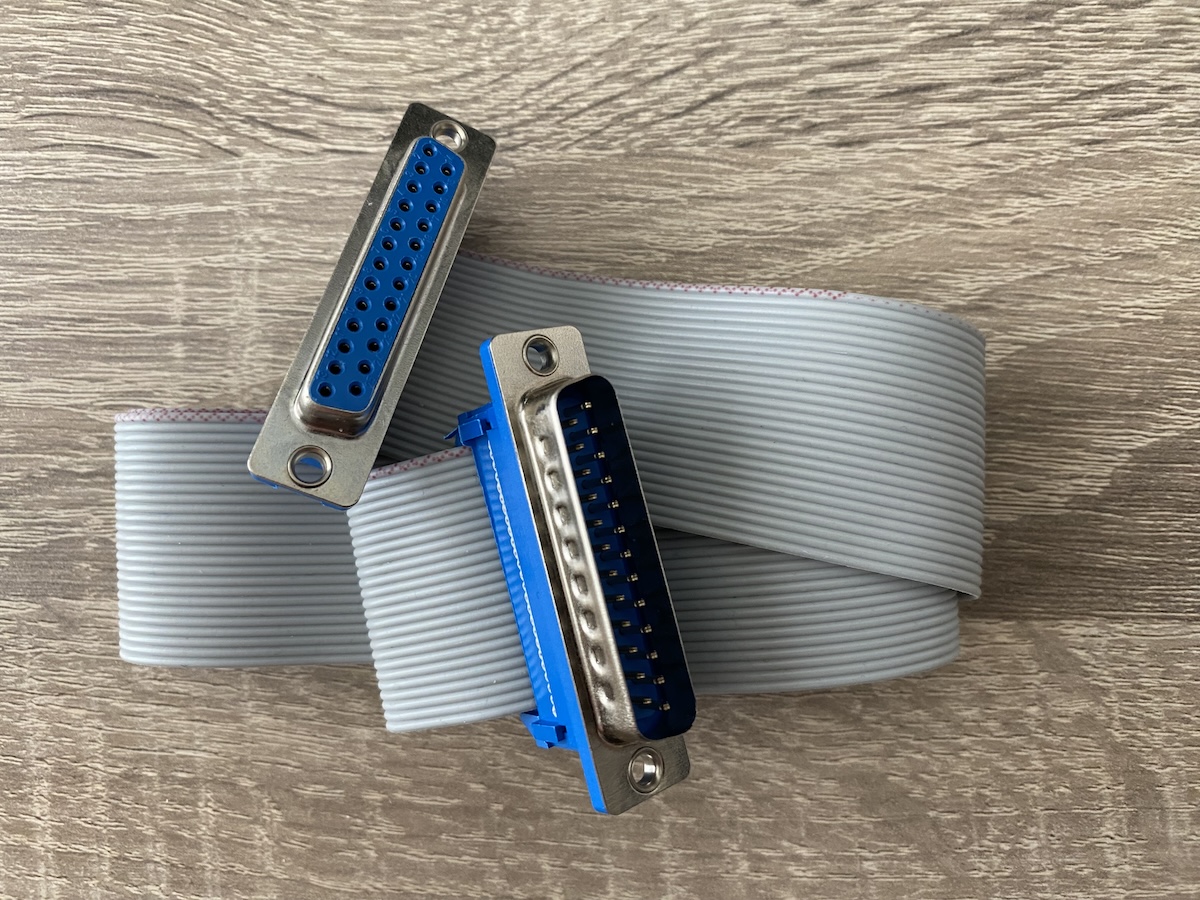
The master card is connected to the USB expansion card with a cable that has DB25 connectors on both ends (the old parallel or 25 pin serial cable, if you will). The master card has 4 mounting holes too, but one of them is obscured by the J4 connector (not clearly shown in the photo below). This makes it hard to mount the card using this hole and I wish they’d improve upon this.
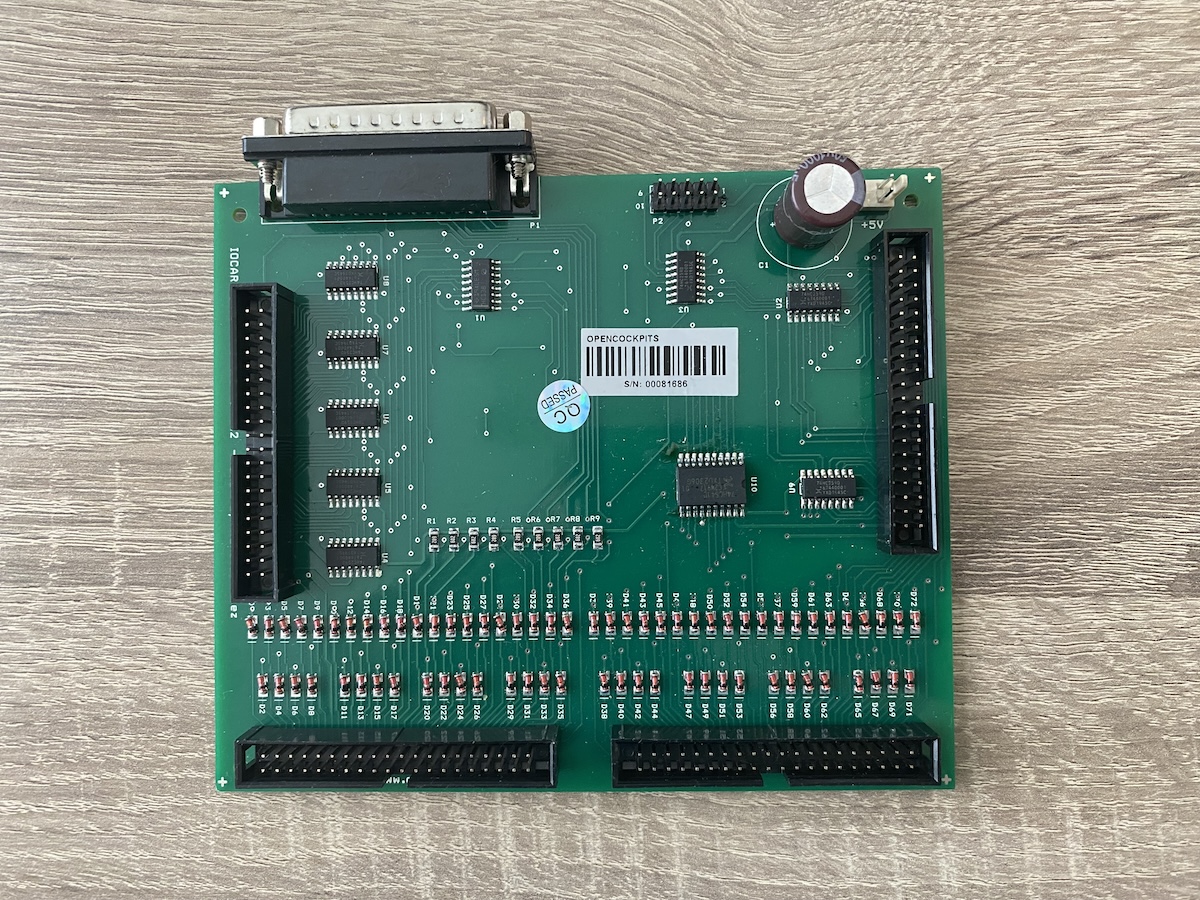
The master has the following connectors:
- P1 - connector to the USB expansion card
- J0 - for an external 5V power supply
- J1 - 40 pin connector for display cards
- J2 - 40 pin connector with 38 outputs
- J3 - 40 pin connector with 36 inputs
- J4 - 40 pin connector with 36 inputs
The required cable between the USB expansion card and the master card looks like this:
The master card can be ordered in three different configurations too:
- fully built and tested
- as a kit, to be assembled
- PCB only
The position of the master card on the USB expansion card dictates the numbering of the inputs on that master card. These numbers can be assigned in SIOC scripts and should correspond with the right physical layout, of course.
|1|0 - 35|36 - 71| |2|72 - 107|108 - 143| |3|144 - 179|180 - 215| |4|216 - 251|252 - 287|
Input and output cards
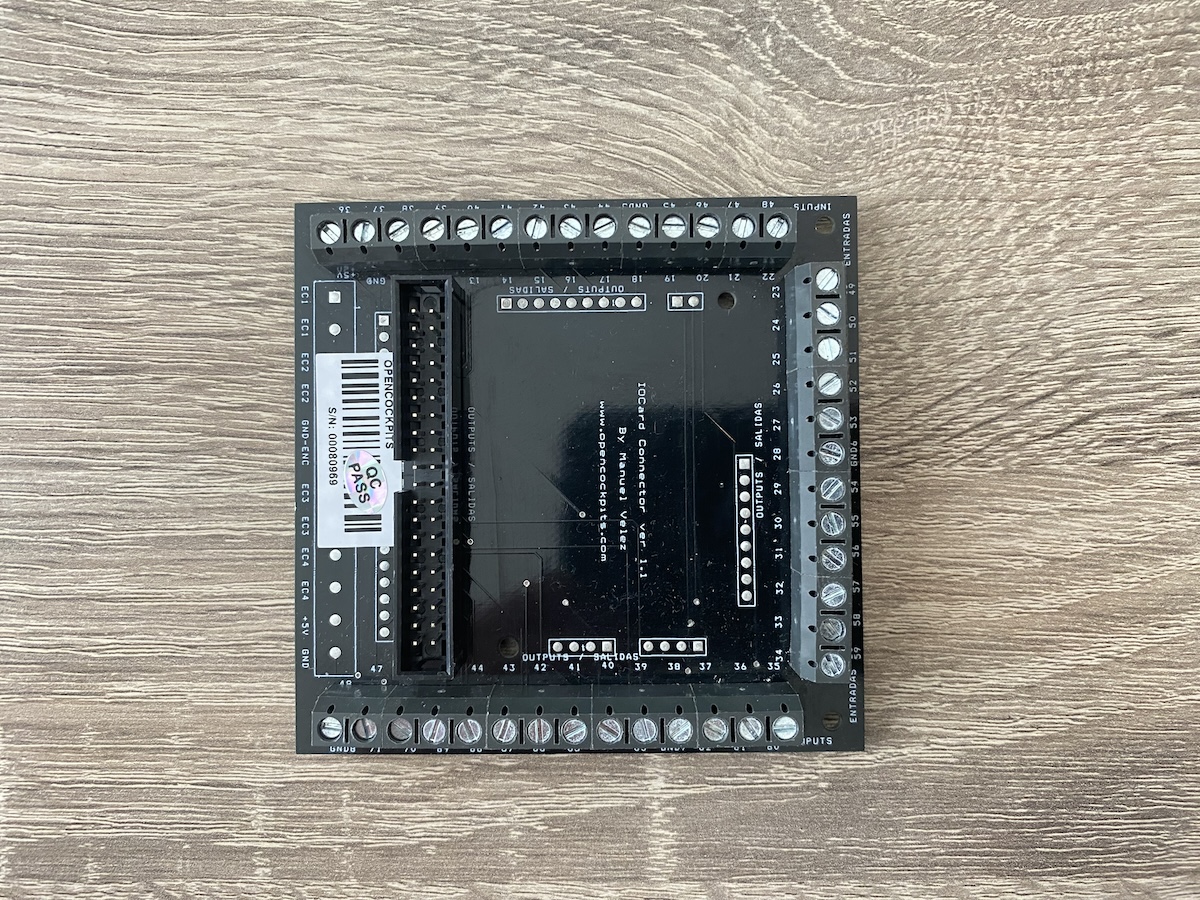
The input and output card share the same PCB, the main difference being the location of the 40 pin connector and where to look for the pin numbers:
- the outputs are numbered on the inside of the PCB
- the inputs are numbered on the outside of the PCB
Both types of cards are equipped with screw terminals for solderless connections. I find them to be very convenient for prototyping, e.g. building a setup in combination with breadbords and/or buttons and verify my logic.
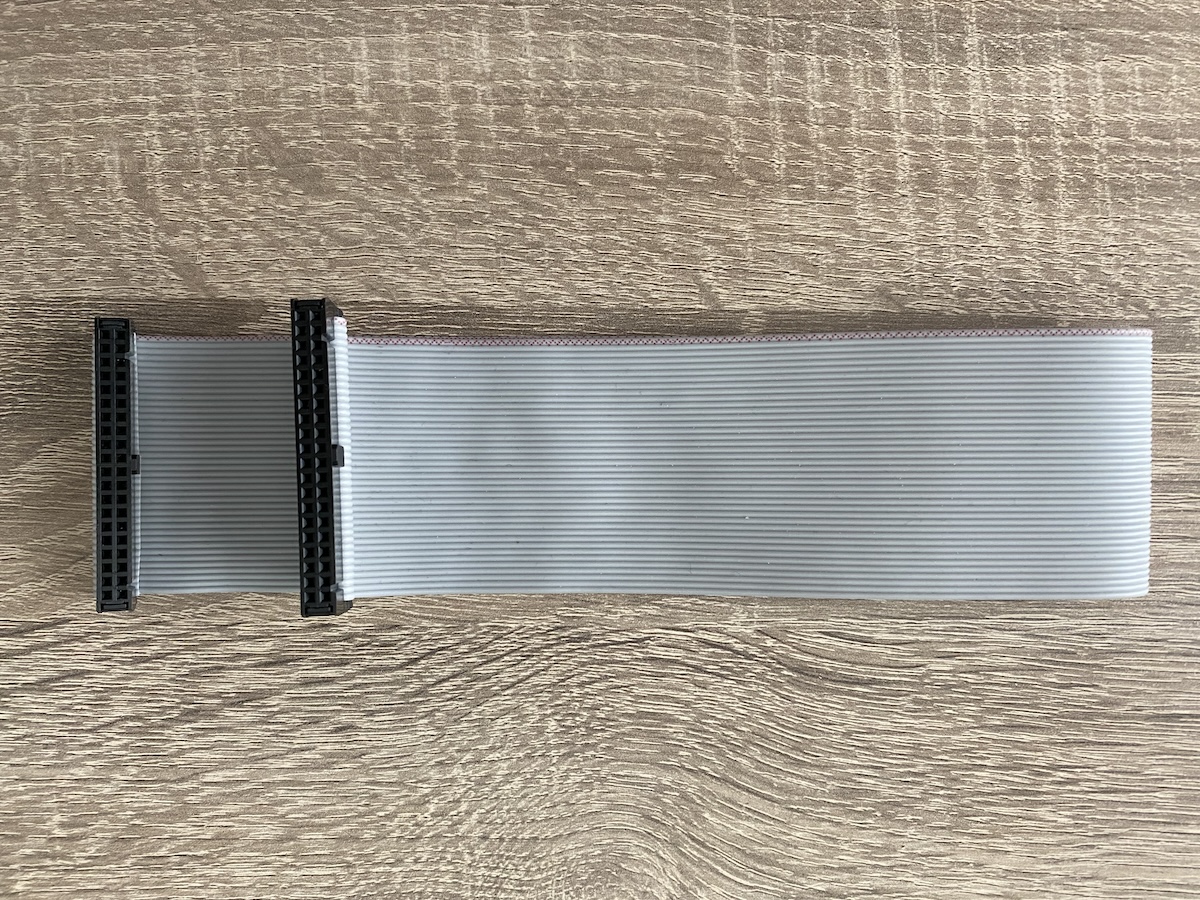
The input and output cards are connected to the master card with 40 pin ribbon cables (or old IDE style cables if you will).
Input card
Opencockpits SKU: 3T5
Two input cards can be connected a single master card and each card provides 36 inputs over 4 groups. There is one common GND pin for each 9 inputs. The numbering of the pins is on the outside of the PCB, where two rows with labels can be observed; the first row is relevant when the card is connected to J3 on the master card and the second is relevant when the card is connected to J4.
As mentioned in the master card description, the numbering is different for input cards connected to master cards number 2 through 4.
Output card
Opencockpits SKU: 3T4
One output card can be connected to a single master card. This card provides 38 outputs in a single group. Two of the 40 pins are reserverd for a common GND a +5V, respectively. The outputs can provide 5V and around 25 mA each.
If you drive LEDs with the outputs, an appropriate resistor must be added to bridge the gap bteween 5V and the LED voltage.