
Parts received on 13.06.2024 (737diysim)
June 14, 2024Last weekend I ordered Karl’s BOB from 737diysim.com. I was looking at a good way to expand the number of inputs and outputs of the Arduinos I use and this seemed like a good solution. I also want to support Karl’s work, so it was an easy decision really. This board can be ordered here.
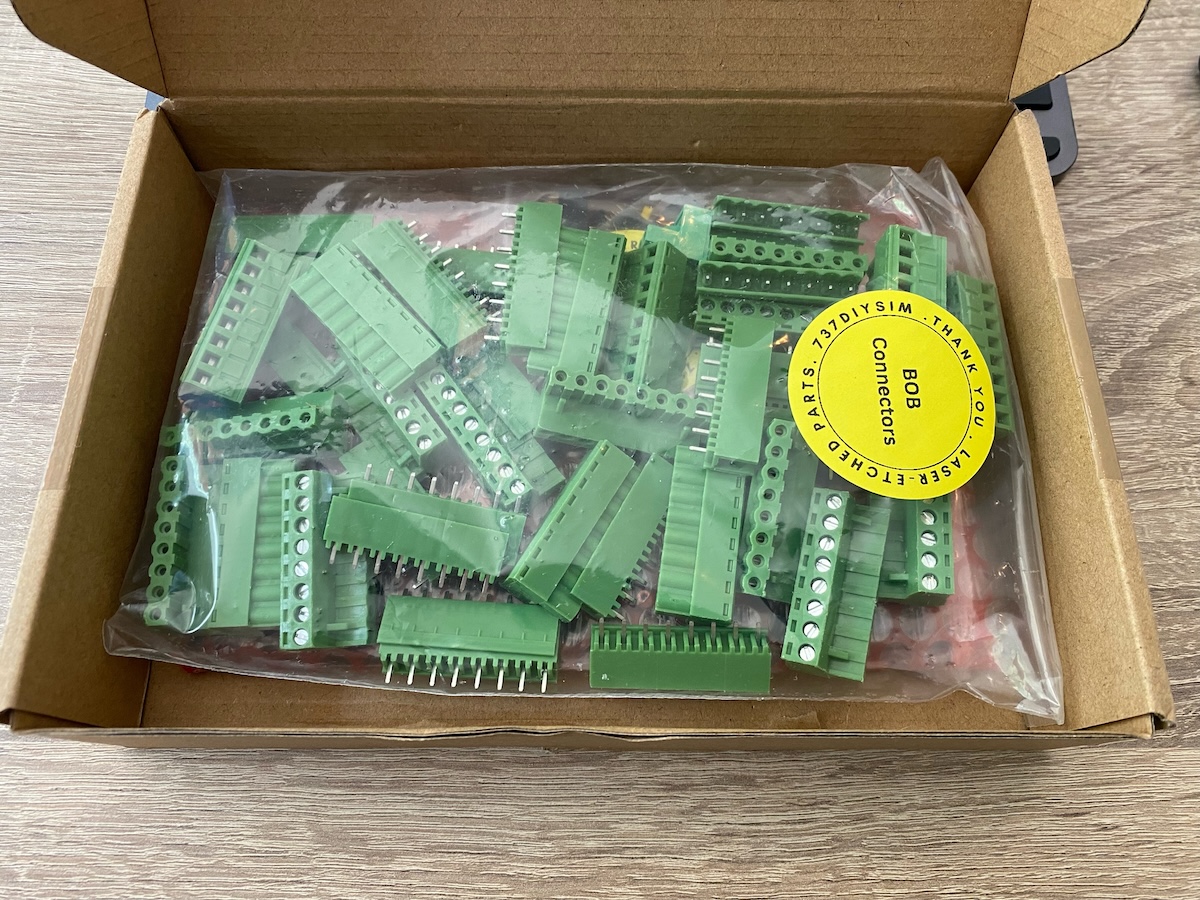
The package
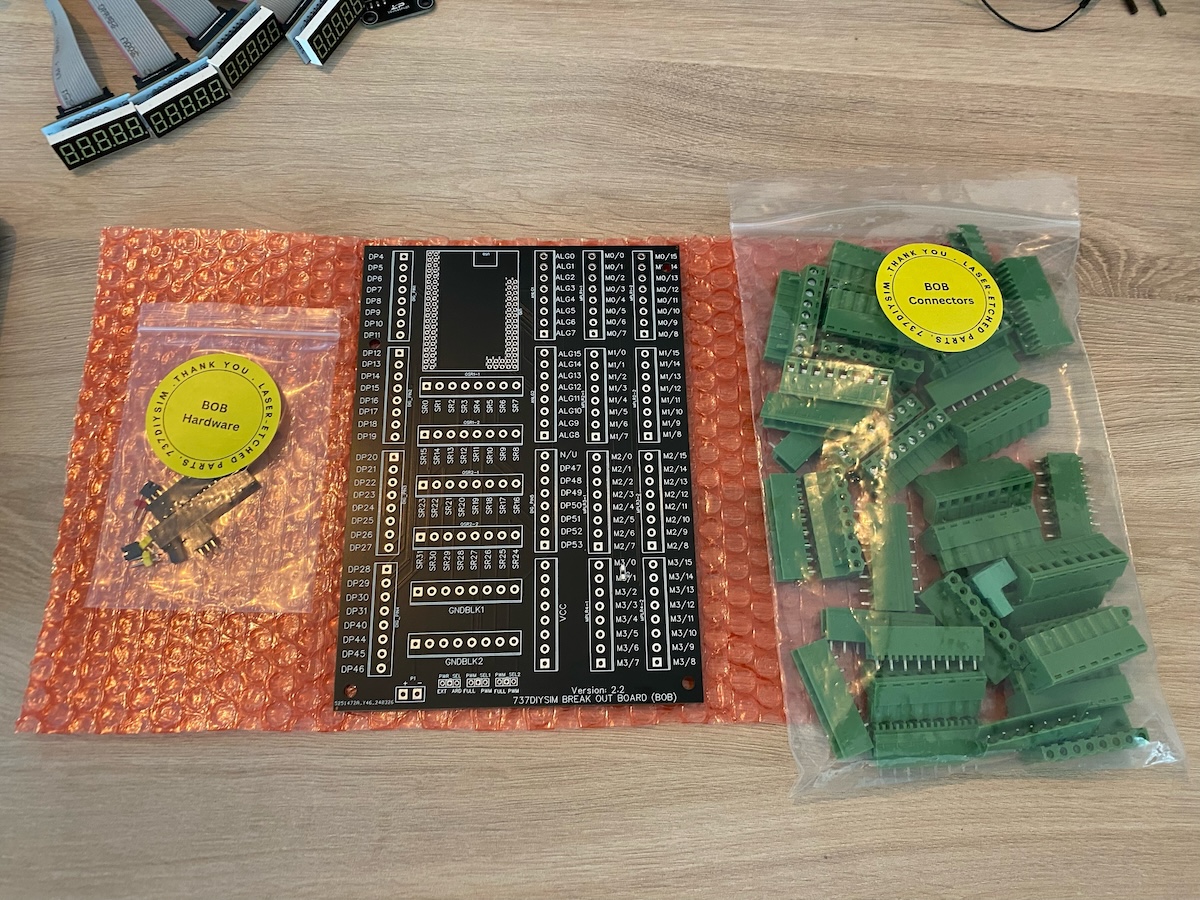
The package ended up on my doorstep on the june 13th. The variant I bought was the ‘PCB & Hardware’ one. There are three versions available:
- PCB only
- PCB & Hardware, this contains everything but the Arduino itself
- The complete DIY set, contains the Arduino too
In the afternoon I had a (very) quick peek at the contents of the package. Seemed complete enough and I was really looking forward to assemble the board in the evening.
Putting it together
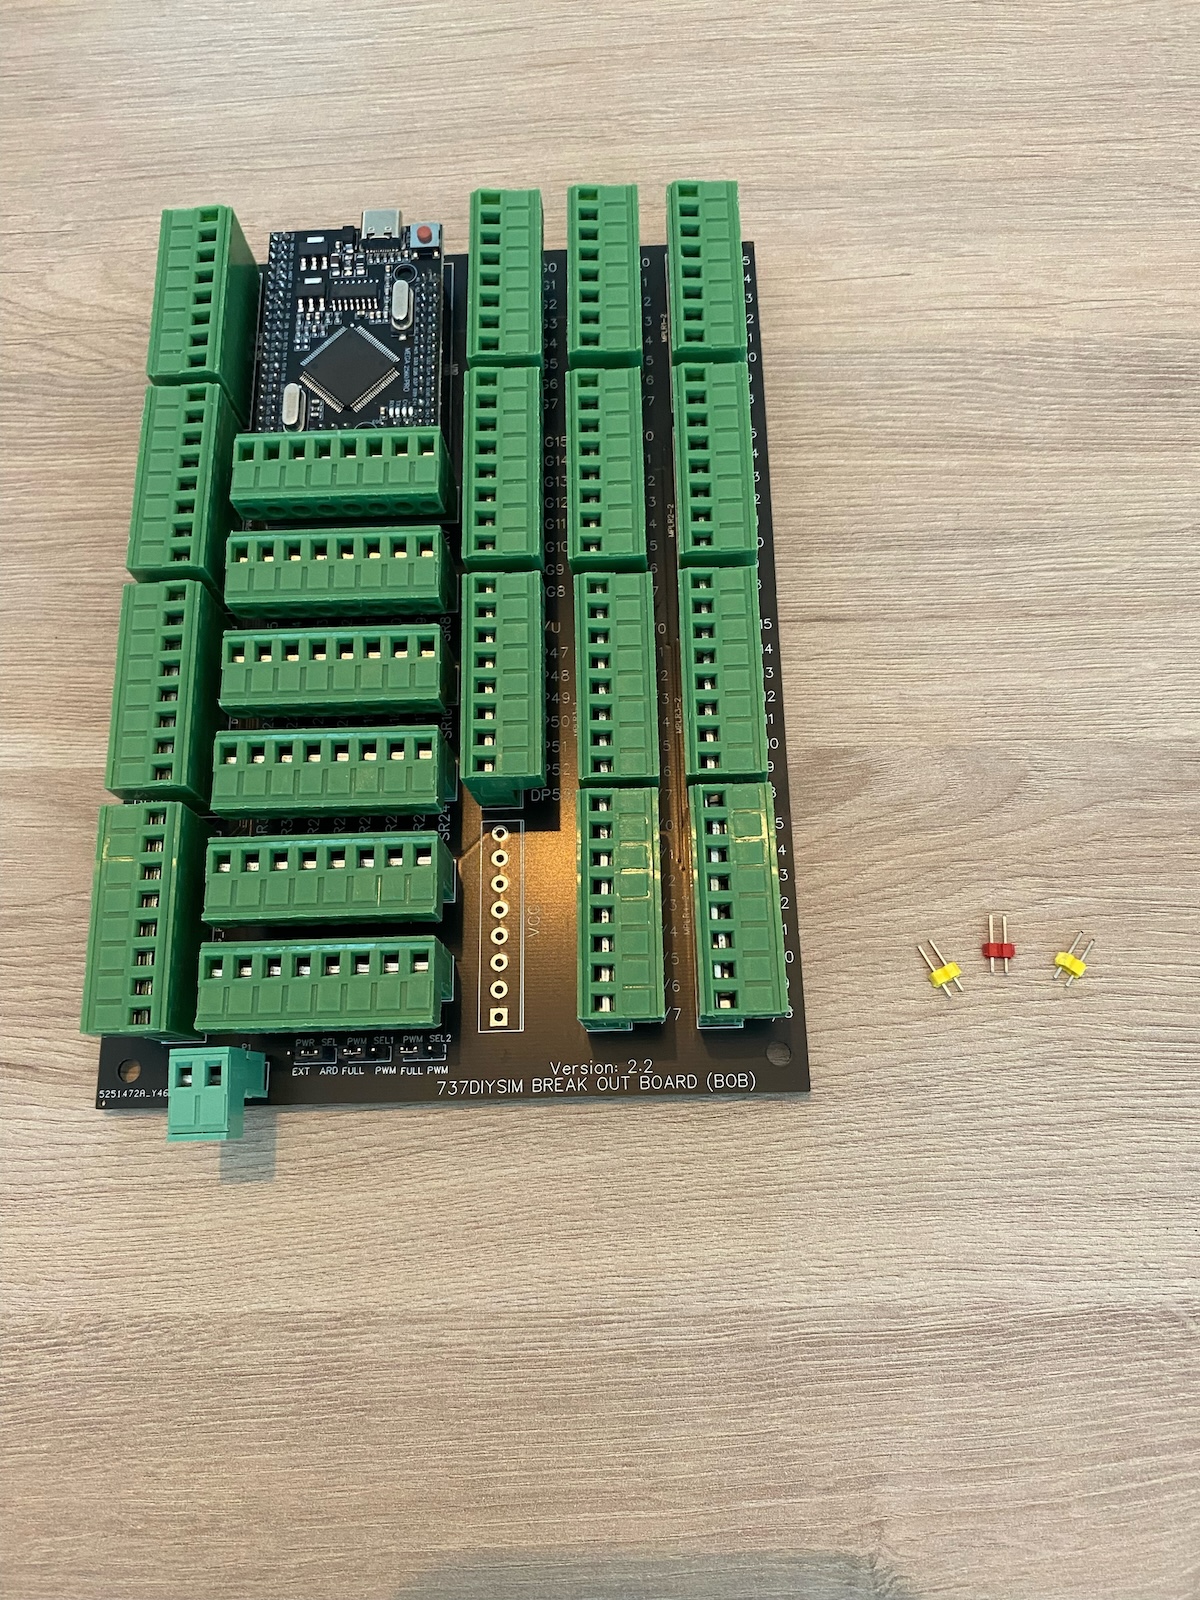
In the evening, it was time to get some soldering done! It’s been while since I was this busy soldering stuff 🙂
I started with the Arduino connectors as this seemed to be the trickiest part of it all. I put the connectors on the Arduino and placed them on the PCB. By starting with a few corners, I fixated the connectors so they couldn’t move when soldering.
A good 2.5 hours later I was all done and it was time to fire up the Arduino. Ofcourse I need to do some thorough testing, but a first glance, everything seemed to be working fine 👍
Components
The BOB adds 32 outputs to the Arduino Mega Pro at the expense of 3 pins. If you use PWM, you lose another 2 pins: 1 per 16 channels. The BOB also adds 64 inputs by using 4 multiplexers (TLC59282, providing 16 channels per IC), using 8 pins:
- s0 to s3
- the input pin for each multiplexer (which adds up to another 4)
Another 42 pins remain for you to be used. The board also has 2 blocks of 8 ground connectors and 1 block of 8 Vcc (+5V). The connectors are of the quick-release type. There is a connector for an external power source. This power source can be enabled with the first jumper, next to the connector.
Programming
Since I can’t use Mobiflight with PSX directly, I have started programming in Python and C++ direcly (more about that in another post). I use the following libraries on the Arduino with this board:
- ShiftRegister74HC595.h for the shift register (although it’s for a 74HC595, it seems to be working fine)
- Mux.h for the multiplexers
Conclusion
All in all, I’m very VERY pleased with this board and I am confident that it will help me get my build on for the 747 MCP 😎 ✈️