
Comparing Korry replicas
June 06, 2024For my MCP panel I ordered a Korry switch replica from 737diysim.com, as I was curious about the quality. I can tell you that it looks the part and has a quality feel to it! It uses a common ground for both LEDs and the integrated pushbuttons though and this is a non-starter with Opencockpits I/O cards unfortunately. I also ordered an Opencockpits Korry replica, which also looks nice and obviously works with the Opencockpits I/O cards without any issues, as each LED and the pushbutton have there own ground pins.
I specifically bought one of each to compare them before I’d decide on what to buy moving forward. Below is a photo where you can see a few differences between the buttons, sitting in the Opencockpits MCP panel.
The depth of these buttons varies, the Opencockpits ones being the longer ones. These do included the resistors, which removes the need to fit them somewhere in your build yourself.
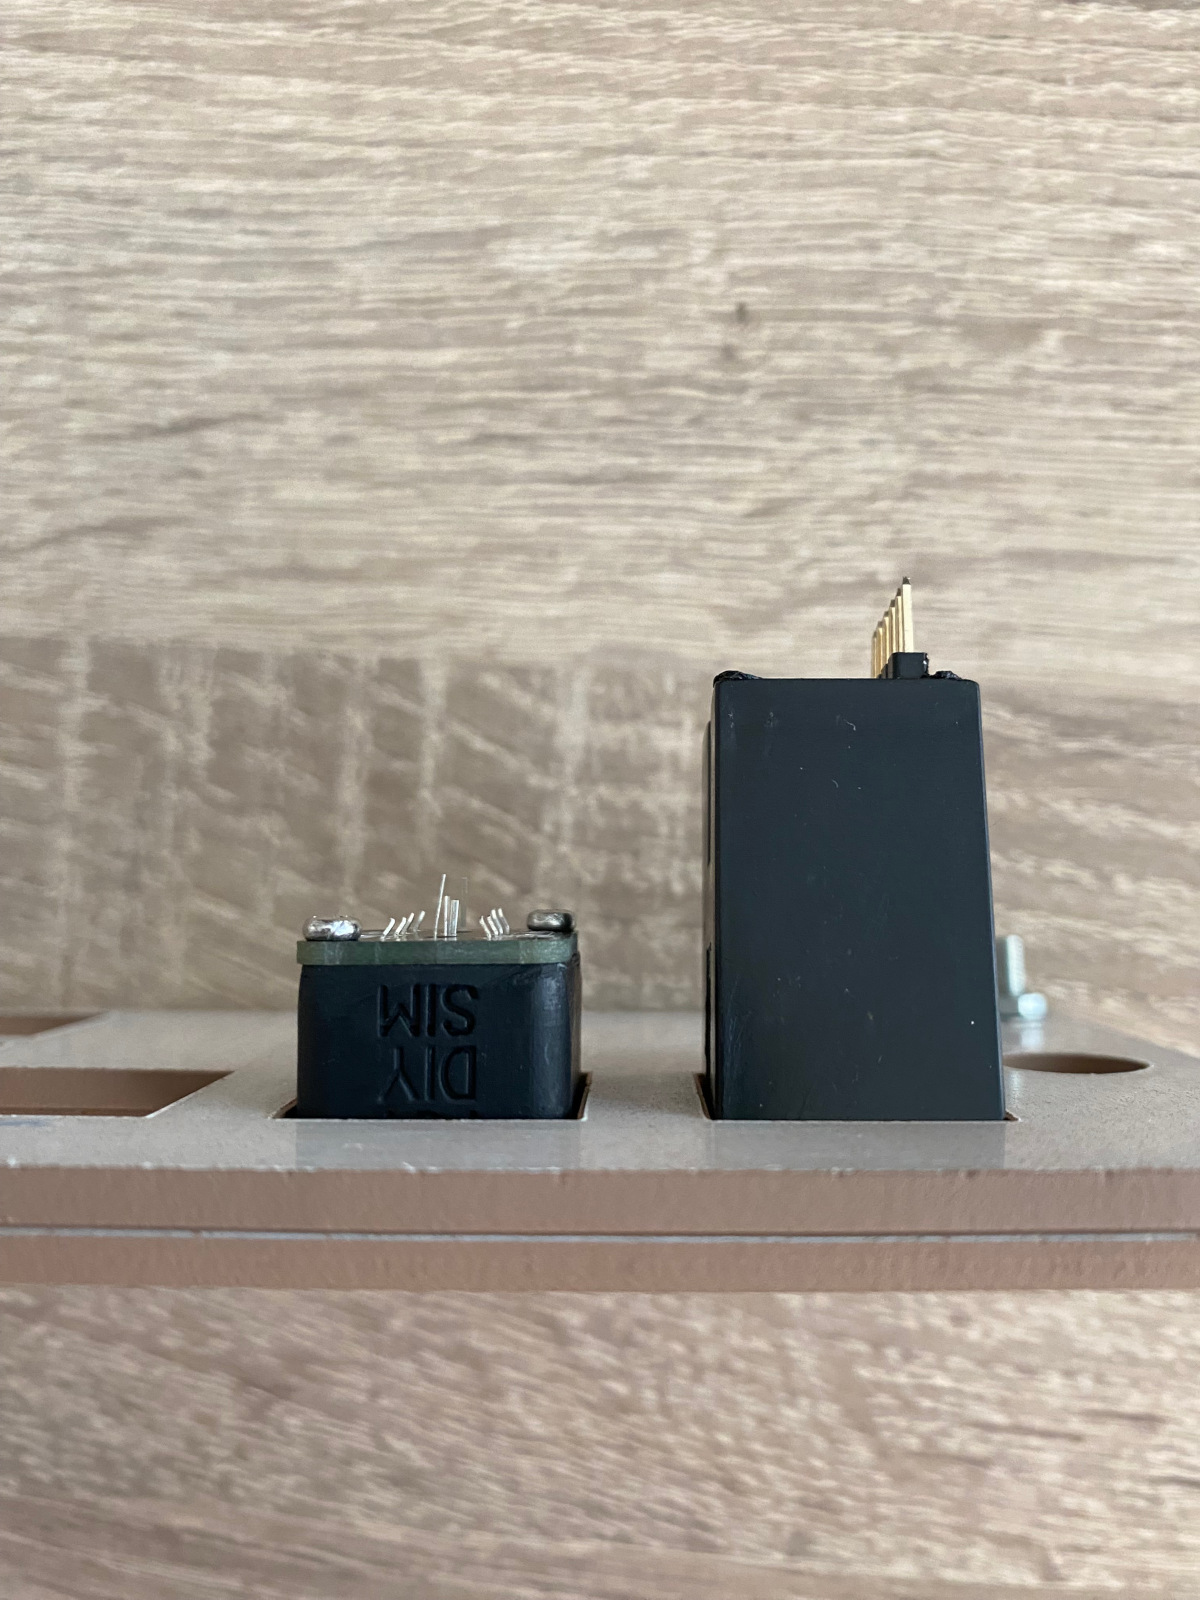
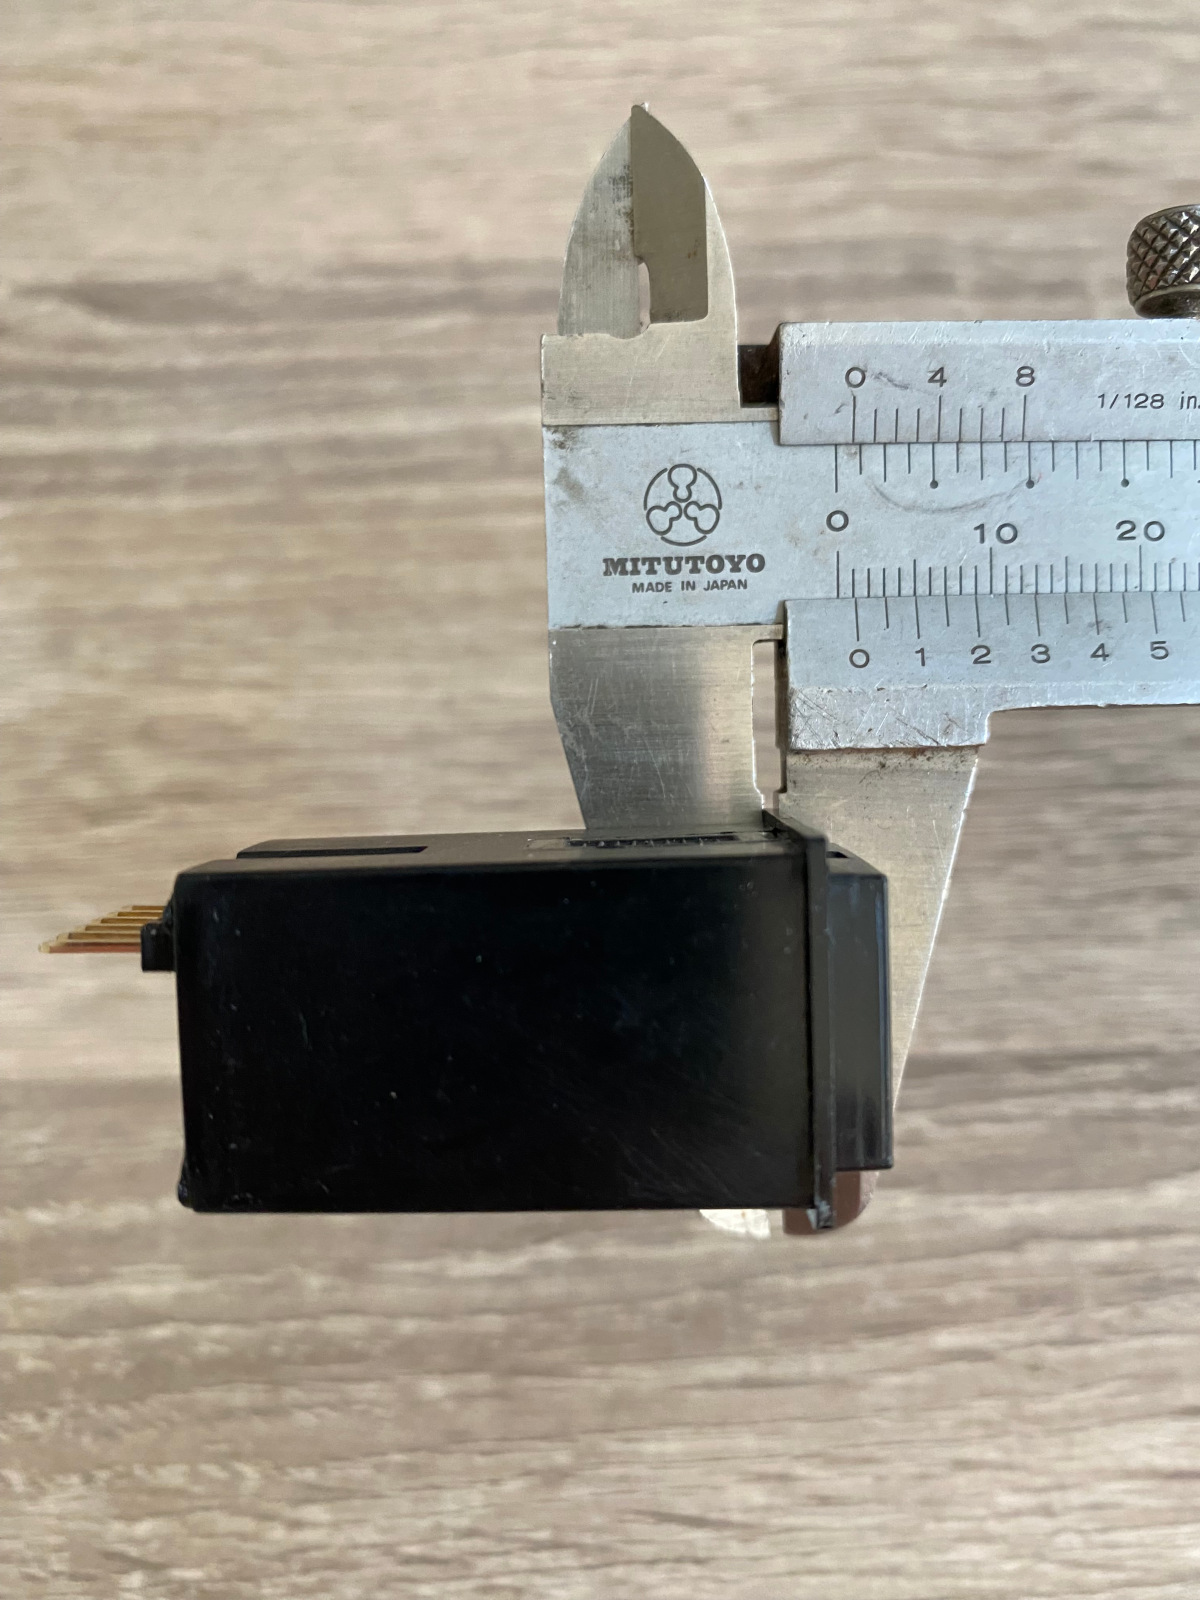
As you can see from the first image, the switches differ in how they sit in the panel. The Opencockpits tend to be recessed further than the 737diysim ones. Please note that the back mounting plates of switches are omitted and that the 737diysim one has not been soldered yet. The 737diysim one comes with a holder that can be tightened with 2 screws. The Opencockpits one uses a bezel that can be forwarded towards the MCP panel using a locking mechanism. Although it looks sturdy, I’m not sure how easy it is to remove it once fitted.
Let’s explore them further.
737diysim Korry
Suprisingly, the 737diysim switch is a snug fit in the Opencockpits MCP panel. I was really impressed by this Korry replica, which uses 2 tactile switches for tactile feedback. Both switches have LEDs in them. By using a internal divider, light does not bleed into the other half of the switch.

Pros:
- snug fit in the MCP panel
- tactile feedback
- great look, almost OEM-like
- less wires, less mess
- very good value for money
Cons:
- not pre-built unless specifically ordered
- the back mounting plate is a bit too short (like 1 to 2 mm)
- uses a common ground for both LEDs and the buttons
Both of these disadvantages are specific to my situation, because I intended to use the Opencockpits I/O cards and the Korry wasn’t made for other panels (obviously). For people using them in a 737 build using Arduinos and Mobiflight, this is a non-issue.
The last disadvantage caused me to reconsider the Opencockpits hardware approach, as it is impossible to use a common ground between inputs and outputs. Even inputs are grouped per 9 inputs with their own ground pin.
The 737diysim ones can be ordered here.
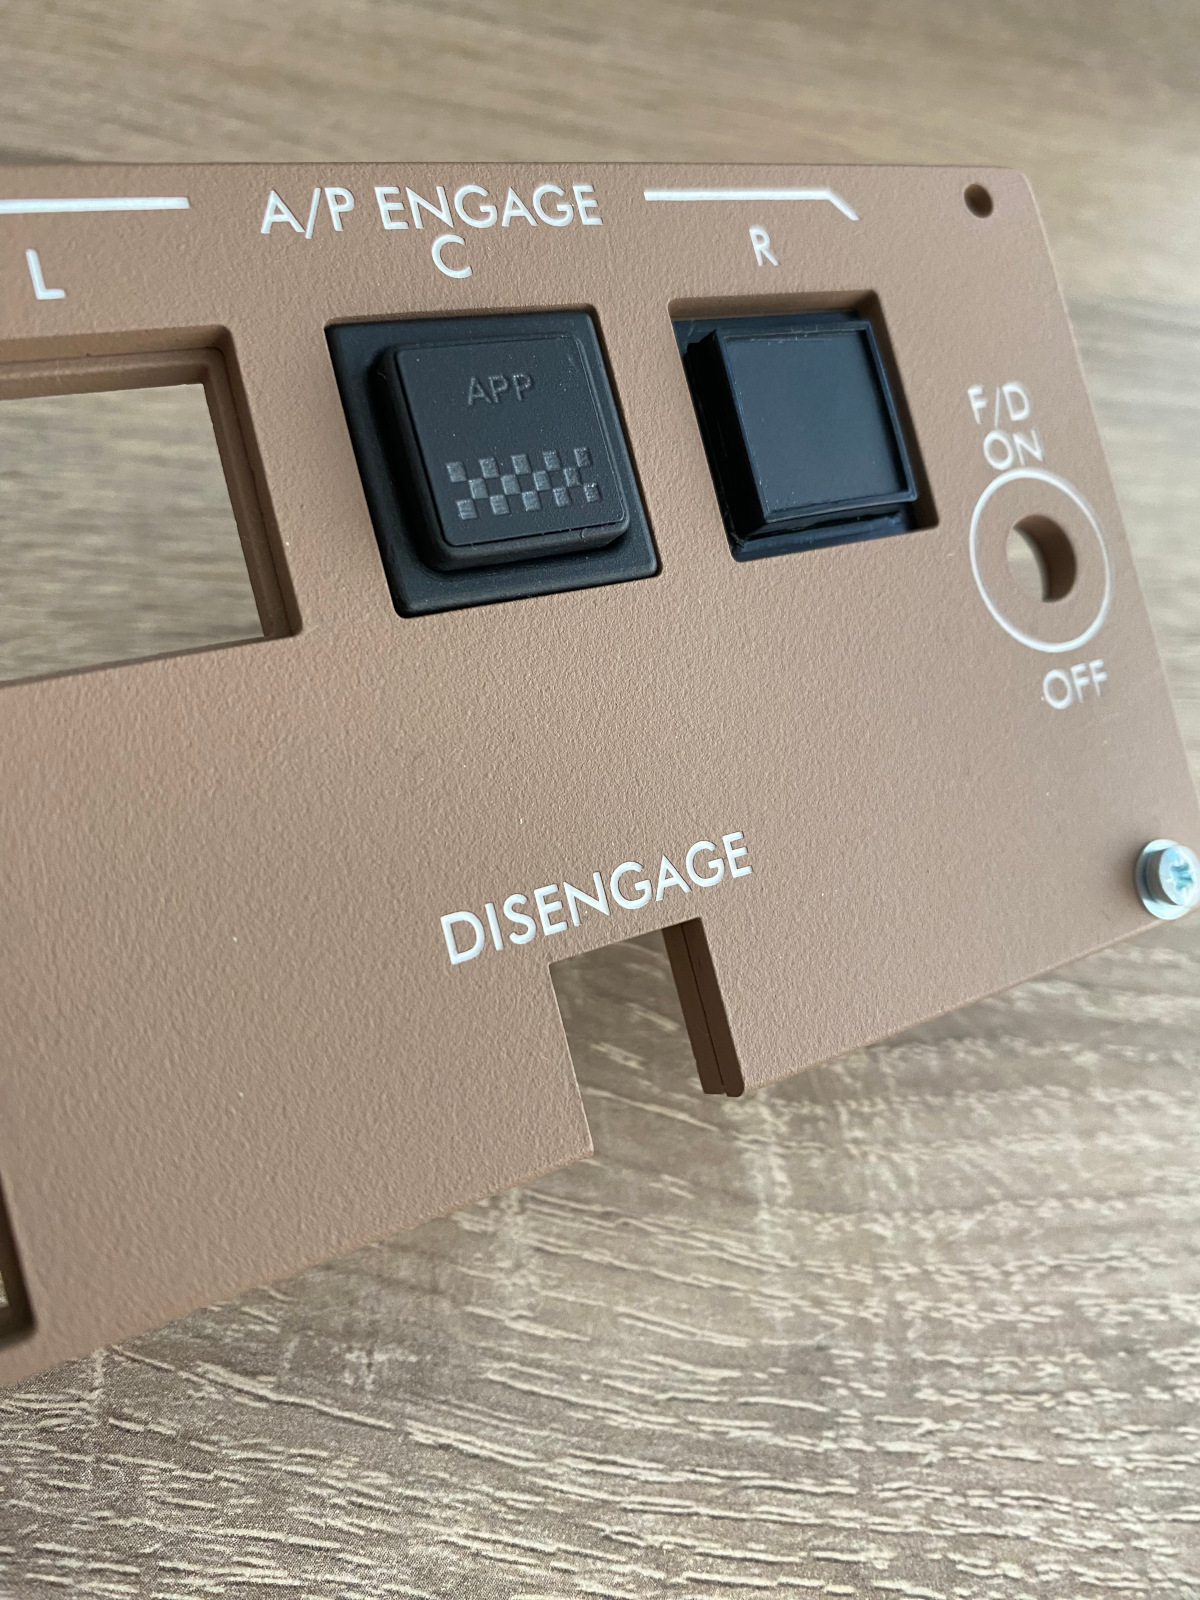
Opencockpits Korry
The Opencockpits Korry works flawlessly with their cards, ofcourse. Both LEDs and the button have separate ground pins. The resistors are included in the Korry too, which eliminates the need to include them in your build. The korry tends to be a bit recessed in the panel.
 .
.
Pros:
- resistors included in the Korry, allows for a cleaner build
- pre-built
Cons:
- not a tight fit in the MCP panel, has wiggle room
- bezel not flush with panel
- price
The lack of common ground pins is both an advantage and a disadvantage: it allows for use with the Opencockpits cards, but it adds extra wires to the build.
The Opencockpits ones can be ordered here.
Conclusion
For me, the 737diysim Korry is a winner. What I liked about it most is that they a fit snugly in the MCP panel and provide tactile feedback. However, deciding on using them brought another challenge: the common ground problem. It means I have to look into a solution to include them in my build.
Possible solutions are:
- stop using the Opencockpits I/O cards and look into an Arduino solution (and I’m not a programmer 🙂)
- designing a new PCB that doesn’t use a common ground for the button and the LEDs (and I’m no PCB designer 🙂)
- look into opto-couplers to somehow get the signalling to the Opencockpits cards done (and I’m no electronics expert 🙂)
This really caused a bit of a headache, but I have decided that I want to use the 737diysim Korries. Let’s see how I get on with this. And after all, I never mind a challenge or ‘being different’, like driving a RHD car on mainland Europe for instance…
For now, I’m off to exploring the first solution.